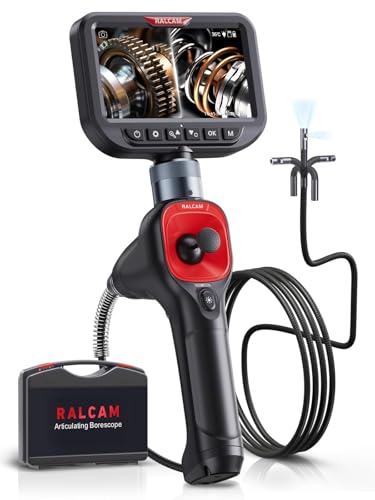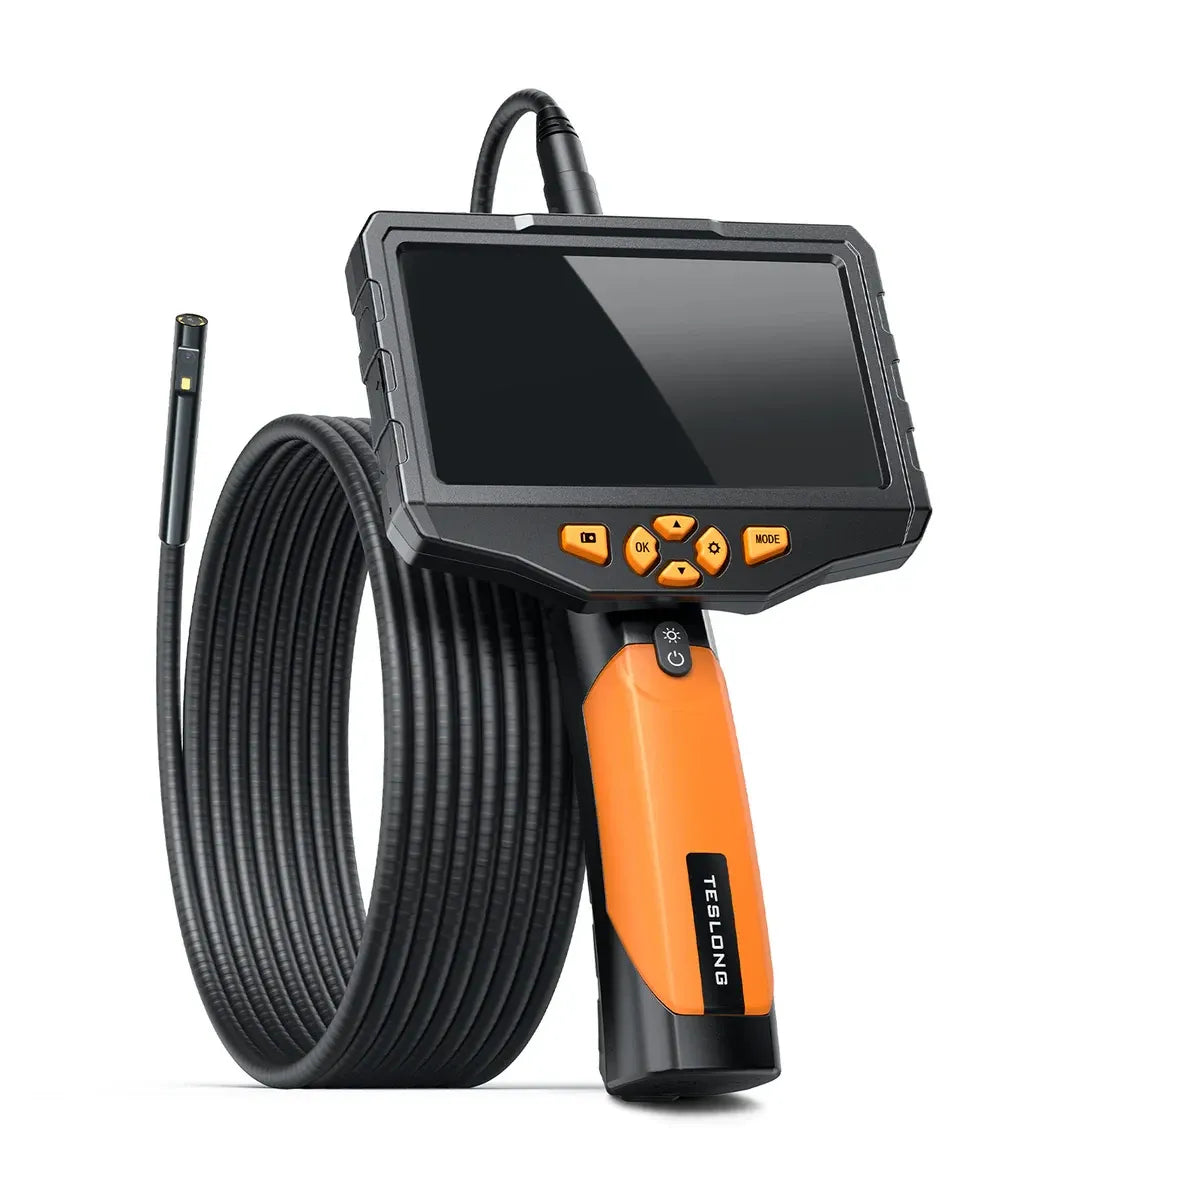
Check the working distance for each lens, compare saved files with the live screen, and look for sample images of the detail you actually need to identify.
Start with the detail, then the distance
Seeing a component and identifying a small mark on it are different tasks. A borescope may show the outline of a piston while leaving the surface detail unresolved. Before comparing resolution labels, decide whether you need to find a loose part, read a stamped number or investigate an apparent line in a surface.
The relevant distance is the gap between the lens and that detail once the probe is in position. A small opening can admit a camera but leave it too close to the target. A front-facing and a side-facing lens may also have different focus ranges. Treat each as a separate camera when checking the specification.
- Identify the target and the smallest detail that matters.
- Estimate the available lens-to-target distance.
- Check the stated focus range for the exact lens and model.
- Ask for an original saved image at a comparable distance.
What the published samples actually show
The Gadgeteer placed objects at intervals of two inches for its Depstech DS550 review, with a screwdriver farther away. That makes the distance behind an image visible and lets the reader distinguish an object being recognisable from its detail being sharp. The review also says the live screen looked better than the saved photographs.
The Drive describes its inexpensive Depstech wireless camera becoming clearer close to the target, along with LED glare. These are observations about those reviewed devices. They do not establish the close-focus performance of another model with the same pixel count or of a later hardware revision.
Lighting can hide as well as reveal
A bright reflection from metal or a wet surface can obscure the very mark you want to see. Start with modest illumination and change one thing at a time: LED level, distance or viewing angle. Keep a second frame when an apparent defect changes with the light. A bright line alone is not confirmation of a crack.
Digital Camera World reported grainy low-light pictures in its Rove RS2 review. Extra pixels cannot recover detail that the camera has not captured clearly. Check whether the review includes a dark target, a reflective target and saved footage, rather than relying on a bright product demonstration.
A useful pre-purchase image check
For a comparison, ask for a ruler and the same small, textured target at known distances. A suggested short-range sequence is 10, 20, 30, 50, 80 and 100 mm, adjusted to the manufacturer's stated working range. This is a proposed checking method, not a test we have completed.
Compare the original still, recorded video and a photograph of the display separately. Note which lens was selected, the lighting level and whether a mirror attachment was fitted. For an engine investigation, retain images as observations and seek confirmation through an appropriate mechanical inspection before treating a suspected mark as a diagnosis.
Sources & further reading
These are external published reviews or specialist guidance. Their observations are attributed; they are not our own physical tests. Source availability and hardware may change.