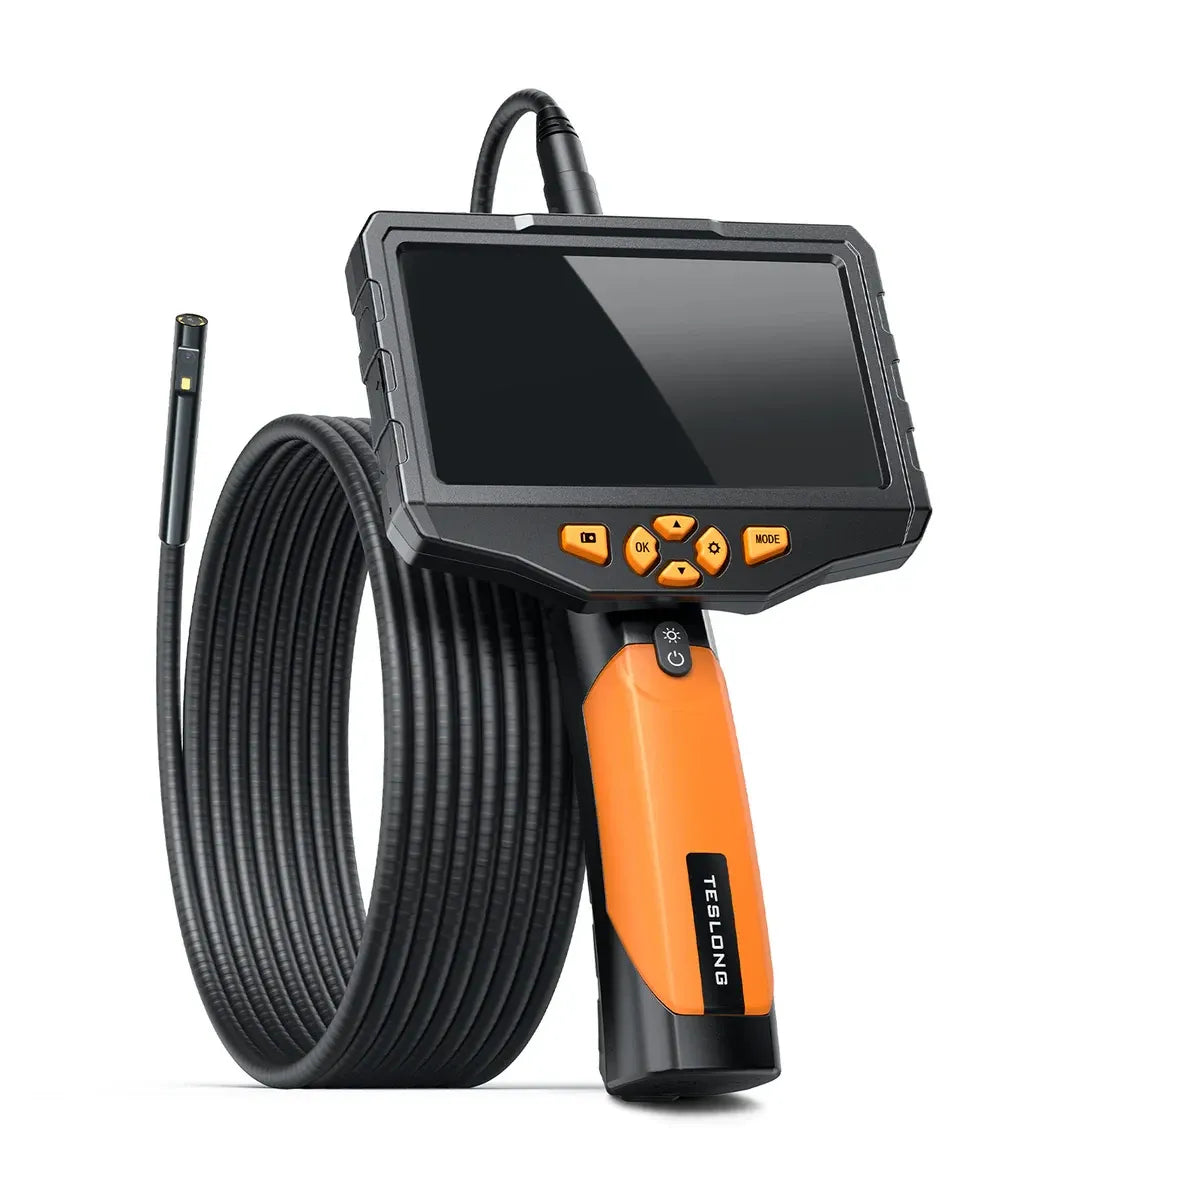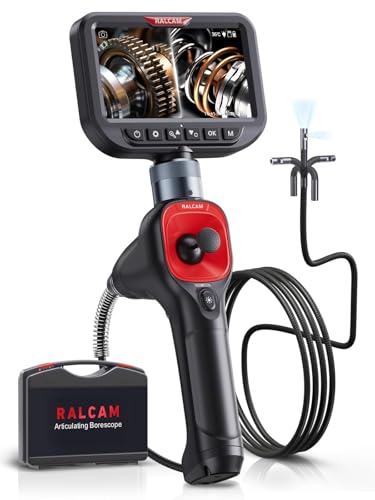
Measure the largest part of the complete probe, distinguish a spark-plug well from the combustion chamber entrance, and plan a safe withdrawal route.
An entrance is not a complete route
A probe that fits into a spark-plug well has not necessarily passed through the threaded opening into the combustion chamber. The well, the opening and the available space inside are separate constraints. Use the vehicle's service information and the relevant access dimensions rather than buying from a general claim that a camera fits spark-plug holes.
Bob Vila's comparison mentions a 17 mm camera and a Toyota spark-plug access test, but does not clearly distinguish the well from the threaded passage. That wording is not enough to guarantee combustion-chamber access. The same caution applies to an inlet opening that becomes narrower or changes direction farther in.
Measure the whole probe envelope
The largest outside dimension may be a shoulder, sleeve, side camera housing or fitted attachment rather than the front lens. Rigid head length also matters at a bend. If an attachment is essential to the job, measure and assess the probe with that attachment fitted.
The Gadgeteer reports a probe shoulder catching during withdrawal in its WiFi borescope review. The article also contains conflicting diameter figures, which is a reason to seek a current dimension drawing or direct measurement rather than repeat either number as a fit guarantee.
- Maximum outside diameter of the complete head.
- Length of the rigid head and any sleeve.
- Diameter and secure attachment of mirrors, magnets or hooks.
- Clearance needed to turn or articulate after entry.
- A route that allows the same assembly to be recovered.
Plan the target view before feeding the cable
The Drive's Teslong review followed a specific path through an airbox, flow straighteners and accordion-shaped inlet bends towards a turbo impeller. The practical difficulty was getting the camera into position and aiming it. This is more useful buying evidence than a photograph of the camera next to an engine.
For a small inspection, identify the exact part and the access point first. Work only on a stationary, cooled engine and follow the vehicle and camera instructions. Do not start or rotate machinery with a probe inside, and do not assume an IP label establishes suitability for hot surfaces, fuel or oil.
Save evidence that supports a decision
A clear image can show where further inspection is needed, but deposits, reflections and perspective can be misleading. Record the access point, viewing direction and component alongside the saved file. Mark an uncertain feature as suspected rather than confirmed.
Professional Motor Mechanic describes using borescope images in customer vehicle-health reports, including obscured components and leak investigations. Its older turbocharger article discusses capturing blade damage and part numbers, but also promotes a supplier's product range. These pages support a reporting workflow; they are not independent proof of any current device's diagnostic accuracy.
Sources & further reading
These are external published reviews or specialist guidance. Their observations are attributed; they are not our own physical tests. Source availability and hardware may change.